

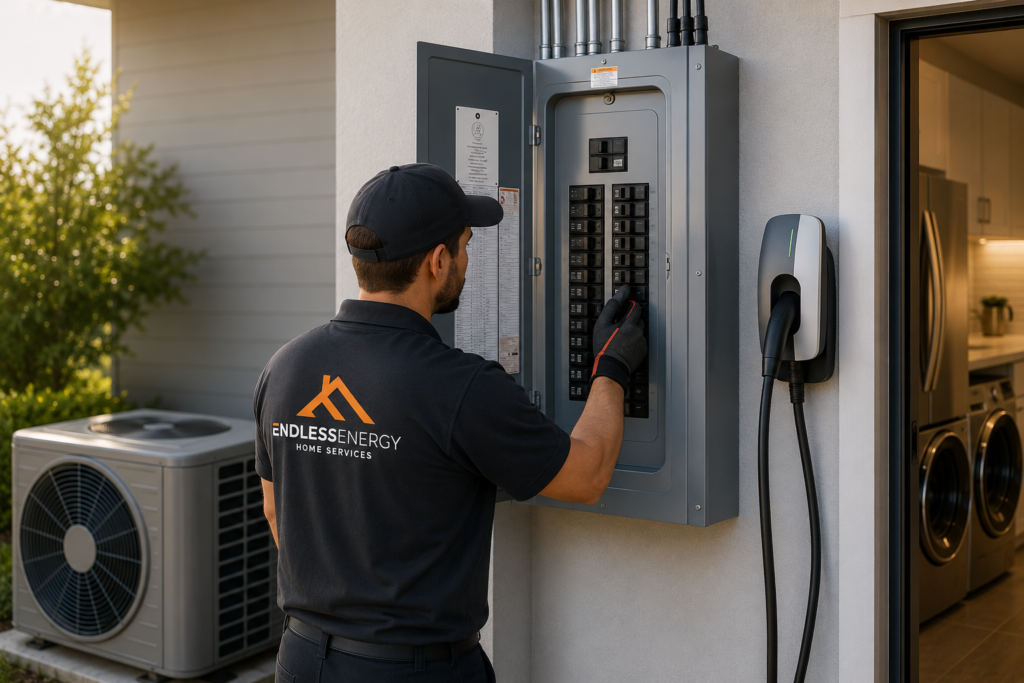
Adding a Level 2 EV charger, switching to a cold climate heat pump, or installing an induction range can quickly change your home’s electrical profile. These appliances draw sustained current, often on dedicated 240-volt circuits, and compete with existing loads like dryers, water heaters, and HVAC blowers. Before you order equipment, a little capacity planning can prevent nuisance tripping, overheated breakers, or last-minute redesigns. This article explains how to identify new loads, check your service and panel, and choose among three common paths: a full service upgrade, a subpanel, or load management. With a clear plan, you can match modern electrification goals with a safe, code-compliant installation.
-
Identify Big Loads That Change Your Home’s Electrical Profile
Start by listing the nameplate ratings and installation requirements for the equipment you want. Many Level 2 EV supply equipment units operate at 32 to 48 amps continuously, which means the circuit is sized at 125 percent of that current. Ducted heat pumps can add defrost cycles and electric heat strips that spike demand during cold snaps. Induction ranges often require a 40- or 50-amp two-pole breaker. Tankless electric water heaters, spas, and shop tools can be significant too. For context on common residential projects, you can also see electrical services from Upfront Electrical, then map your planned appliances to circuits you have and those you will need.
-
Verify Service Size and Panel Space Before You Buy Equipment
Check your main breaker and panel label to confirm service size and bus rating, typically 100, 150, or 200 amps in single-family homes. Count open spaces and review the labeling to see if your panel allows tandem breakers in specific slots. Space is not the same as capacity, though. A National Electrical Code load calculation (NEC Article 220) estimates demand based on square footage, small appliance and laundry circuits, fixed appliances, HVAC, and new continuous loads. The result tells you whether the existing service can support what you are adding.
Example: An older100-ampp service feeding an all-electric home may already be near its calculated demand on winter evenings. Simply inserting a new 50-amp two-pole breaker for a 40-amp EVSE could push usage above the service limit during peak cooking and heating, causing frequent trips or overheating. A load calculation flags that risk before you pull any wire.
-
Choose Between Service Upgrade, Subpanel, or Load Management
A service upgrade increases available amperage by replacing the meter base, service conductors, main breaker, and often the panel to reach 200 amps or higher. This path is ideal when your calculation leaves little headroom, or you plan several electrification steps over time. It adds physical breaker space, supports future circuits for a workshop or sauna, and reduces reliance on load shedding. The trade-off is cost and utility coordination, plus a planned outage on changeover day.
When the service is adequate, but the panel is crowded, a subpanel solves space without increasing overall capacity. It is fed by a two-pole breaker from the main panel and can support new 240-volt circuits for an EV charger or induction range. Remember that a subpanel does not create extra amps, and neutrals and grounds must be separated there. If your load calculation lands just over the limit at peak times, an energy management device can throttle an EVSE or delay auxiliary heat so the main breaker stays within rating. Some homeowners also choose a lower amperage EV charger setting or a heat pump without electric strips to reduce demand, trading charging speed or backup heat output for capacity fit.
-
Plan Circuits, Breakers, and Protection the Right Way
Each large appliance typically needs a dedicated two-pole breaker and a properly sized copper or aluminum conductor per its nameplate. Continuous loads are sized at 125 percent, so a 40 amp EVSE often uses a 50 amp breaker. Long runs to a detached garage may require upsizing conductors to minimize voltage drop, especially for high-current charging. Follow listing and labeling rules: use GFCI protection where required, AFCI where the code mandates it, and install a Type 1 or Type 2 surge protective device to protect sensitive electronics in heat pump inverters and induction controls. Common mistakes include using tandem breakers where the panel isn’t listed for them, landing neutrals and grounds together in a subpanel, or reusing an undersized cable from a retired dryer circuit for a higher-draw appliance.
Permits, Utility Coordination, and Timing to Expect
Most jurisdictions require a permit and inspection for new 240 volt circuits and any service change. For upgrades, the electrician will coordinate a cutover with the utility, replace the meter socket and service conductors if needed, bond and verify the grounding electrode system, and schedule inspection before the meter is resealed. Expect a short planned outage on the day of work. For panel-only changes or new circuits, power interruptions are usually shorter but still require shutoffs. If a driveway saw cut or trench is necessary to feed a detached garage, build in time for restoration. Securing appliance specifications, finishing the load calculation, and ordering materials ahead of permitting keeps the timeline predictable.
Thoughtful capacity planning makes electrification smoother and safer. By identifying big continuous loads, checking service size and panel space, and weighing a full upgrade against a subpanel or load management, you can align your wish list with what the infrastructure will support. Clear labeling, correct breaker sizing, and required GFCI or AFCI protection reduce callbacks and keep equipment warranties intact. If your first step is a single circuit for an EVSE or induction range, leave spare capacity and route choices that make the next step easier. A practical plan today prevents expensive rework when you add the next appliance tomorrow.