

Creating a prototype is one of the most critical steps in product development. Before you invest significant time and resources into manufacturing, a prototype allows you to test your concept, identify design flaws, and gather feedback from potential users. Whether you’re launching a physical product or a digital solution, the prototyping phase shapes everything that comes after it. This guide walks you through six essential tips to help you build an effective prototype that brings your vision to life.
Start With a Clear Problem Statement
Before you touch materials or open design software, define exactly what problem your product solves. Understanding your target audience and their pain points creates a foundation for every decision you make during prototyping. Spend time researching your market and identifying the specific needs your product addresses. When you have a clear problem statement, your prototype becomes purposeful rather than experimental. This clarity also helps you communicate your product’s value to investors, team members, and potential customers who review your work.
Sketch and Plan Before Building
Most successful prototypes begin on paper, not with materials or code. Sketching allows you to explore multiple design directions quickly without committing resources to physical production. Create rough drawings of your product from different angles, showing how users interact with it. Include notes about dimensions, materials, and key features directly on your sketches. This planning phase is where you solve major design problems before they become expensive mistakes during construction or development.
Choose the Right Materials and Tools
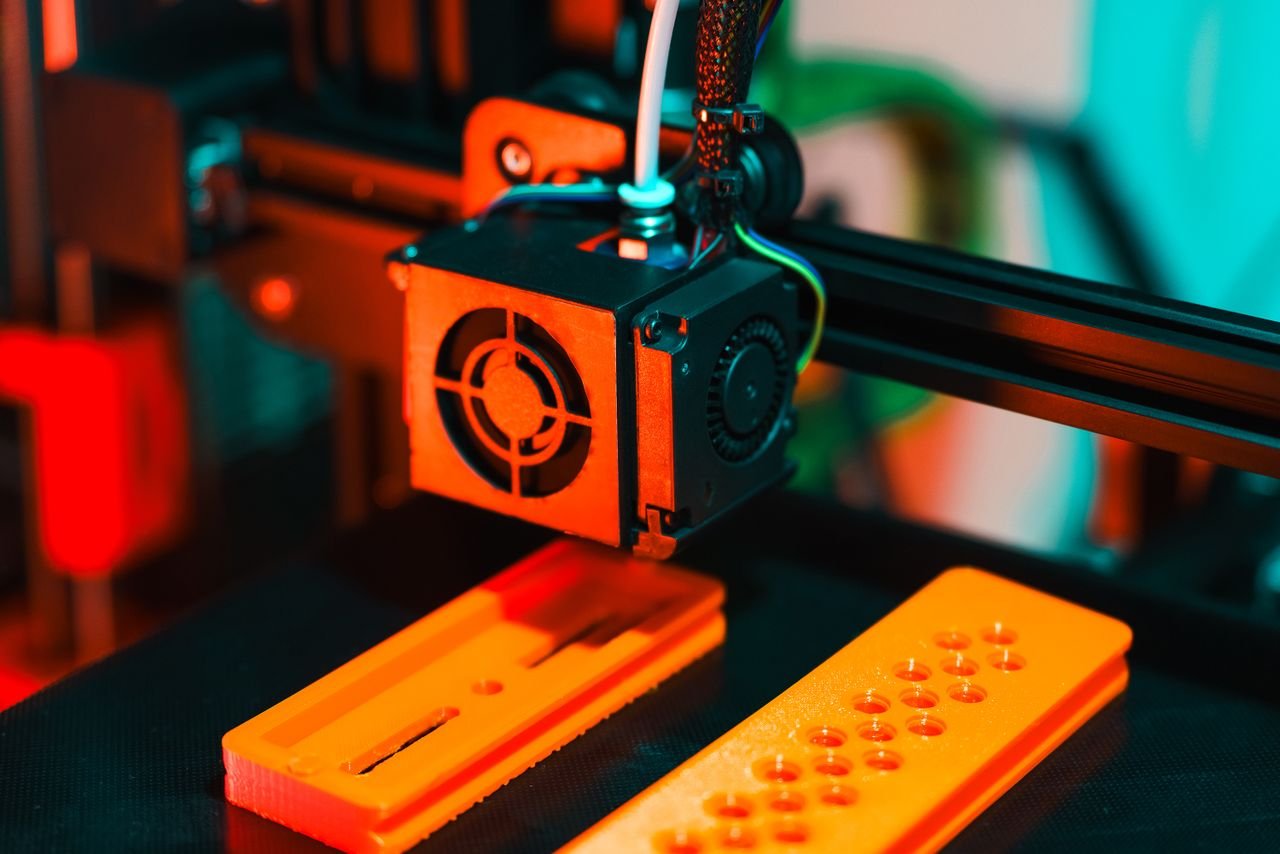
The materials you select depend on your product type, budget, and timeline. For physical products, common prototyping materials include foam, plastic, wood, and metal, each offering different advantages in terms of cost and durability. Digital products might use prototyping software like wireframing tools or design platforms that let you create interactive mockups. Research what materials professionals in your industry typically use for prototypes, and aim to reflect the final product’s materials as closely as possible while remaining affordable for this early stage. For example, teams developing plastic consumer goods often use injection molding during later prototype stages to validate how the final manufacturing process will perform and whether the design holds up under production conditions.
Build a Minimum Viable Version
Resist the urge to include every planned feature in your first prototype. A minimum viable prototype focuses on core functionality and demonstrates your product’s primary value proposition. This approach saves time and money while still validating whether your basic concept works. For example, a software prototype might show how users navigate the main workflow without including advanced features that can be added later. Testing a simplified version helps you gather meaningful feedback about what truly matters to your users before you invest in refinement.
Test With Real Users Early and Often
Your prototype is only valuable when people actually use it and provide honest feedback. Recruit a small group of potential users who match your target audience and observe how they interact with your prototype without excessive guidance. Take notes on where they struggle, what confuses them, and what they appreciate about your design. Ask open-ended questions about their experience rather than leading them toward specific answers. This real-world testing reveals problems that you might never discover through internal review alone, and it often highlights opportunities for improvement that you hadn’t previously considered.
Document Changes and Iterate Quickly
As feedback comes in, document every suggested change and issue you discover. Create a prioritized list that separates critical problems from secondary improvements you can address later. Make changes to your prototype based on what you learn, then test again with additional users to confirm whether those changes worked. This iterative cycle is where prototyping proves its value, bringing you closer to a product that genuinely solves your customers’ problems with each pass. Keep track of how your prototype evolves so you can explain your design decisions to stakeholders and remember why you made certain choices.
Plan for the Next Phase
Your prototype is a stepping stone, not your final product. As you finalize your prototype, begin thinking about what comes next, whether that is manufacturing, full development, or a pilot launch. Understanding this pathway helps you make prototype decisions that actually advance your product toward market. Consider what information you still need from users and what technical challenges remain unsolved. Your prototype should answer enough questions to justify moving forward while leaving room for professional refinement and scaling.
Conclusion
Building a product prototype requires planning, intentionality, and a willingness to learn from testing. Starting with a clear problem statement and sketching your ideas saves time and prevents costly mistakes. Choosing appropriate materials, focusing on minimum viable features, and testing with real users ensures your prototype actually validates your concept rather than just looking good. Documenting changes and iterating quickly accelerates your path to a product ready for the next stage of development. By following these six tips, you create a prototype that demonstrates your product’s potential while gathering the insights you need to build something customers genuinely want.