

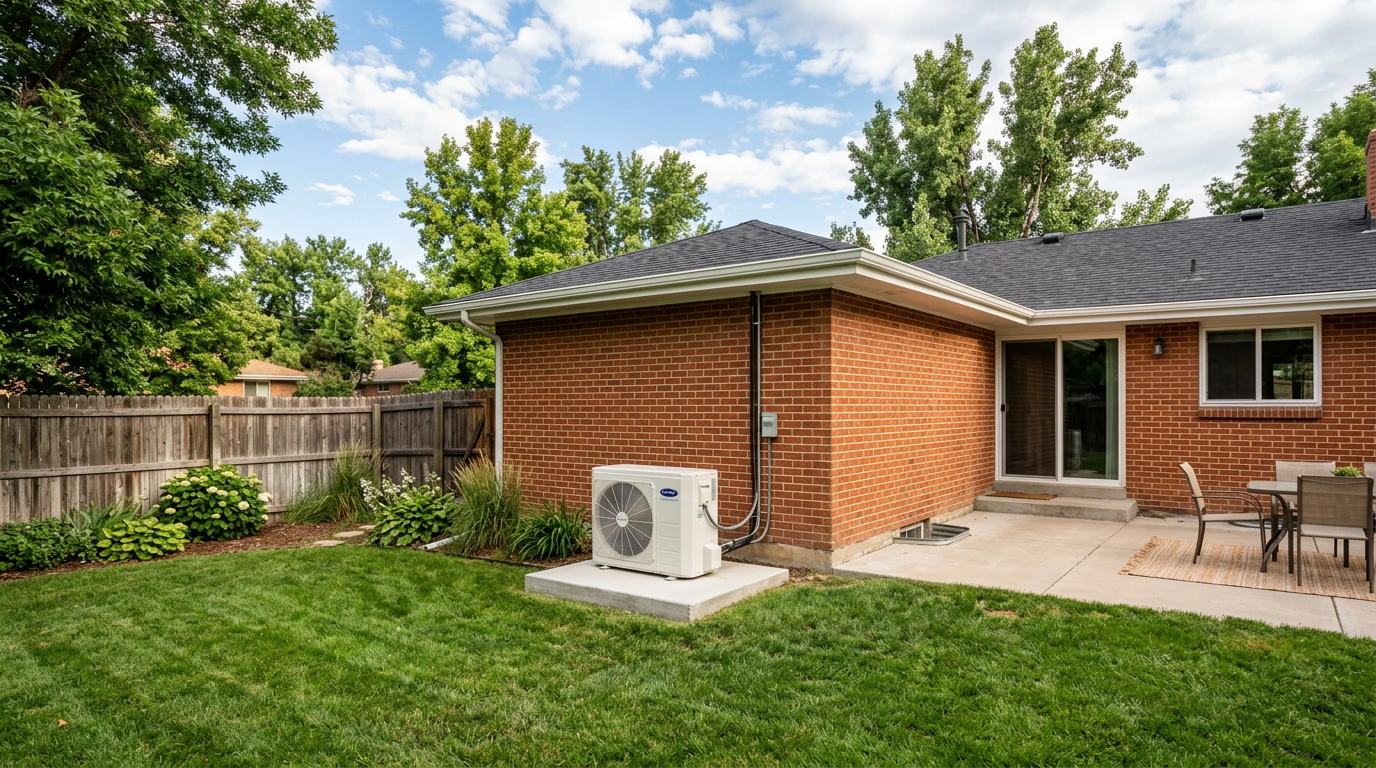
More homeowners are considering air source heat pumps for quieter operation, efficient cooling, and the option to electrify heating. At high elevation and in a semi-arid climate, however, a heat pump will not behave exactly as it does at sea level. Capacity, airflow, frost management, and even duct details play a greater role in comfort. If you are planning to replace a furnace and central air conditioner or add a new system, a few altitude-specific checks can help your equipment perform as expected through cold snaps and sunny stretches alike. Here is a practical framework to consider before approving a heat pump project.
-
Altitude Reduces Capacity and Changes How a Heat Pump Behaves
Lower air density means each cubic foot of air carries less heat. In Denver, that means the system moves less heat per minute unless it compensates with suitable equipment and proper airflow. In cold climates, inverter-driven units can maintain capacity more effectively in frigid weather by adjusting compressor speed and using advanced vapor injection. Even so, every system has a balance point, which is the outdoor temperature at which the heat pump alone can no longer meet the heating load and backup heat must assist. Expect defrost cycles to activate during freezing weather when moisture collects on the outdoor coil. Although the air is dry, frost can still form on cold metal. Proper controls help maintain comfort during these brief operating changes.
Picture a clear January evening when temperatures fall into the single digits. A properly matched system quietly increases compressor and indoor blower output, then brings in electric heat strips or a gas furnace only when necessary. A poorly matched setup may cycle too frequently, deliver lukewarm air, and rely on backup heat sooner than necessary. Your thermostat’s heat pump and auxiliary heat indicators, along with compressor and auxiliary lockout settings, influence this behavior. Confirm how these controls will be configured for local winter conditions before installation day.
-
Run a Room-by-Room Manual J and Match Equipment With Manual S
Start capacity decisions with an accurate load calculation. A room-by-room Manual J considers attic insulation levels, air sealing, window area and orientation, infiltration, and shading. Strong sunlight and significant day-to-night temperature swings can create modest cooling loads but substantial heating demands. Older brick bungalows and mid-century ranch homes often have greater air leakage and uneven insulation, which can increase calculated heat loss. After the load calculation is complete, Manual S equipment selection matches a heat pump’s actual performance to expected winter temperatures rather than relying only on its nameplate tonnage. Ask for the design assumptions and reports so you understand the conditions the equipment was selected to handle.
A common mistake is replacing a large furnace with a heat pump of similarly large nominal capacity. Oversizing can shorten operating cycles, reduce moisture removal during mild seasons, and increase noise. Undersizing can lead to frequent use of auxiliary heat. One practical approach is to size the heat pump for typical winter conditions and then use dual fuel equipment or staged electric heat strips to cover the coldest nights. This approach supports quiet and efficient operation during most of the season without leaving the home short of heating capacity when a severe cold front arrives.
-
Check Ducts, Filters, and Static Pressure for the CFM Your System Needs
Because thinner air carries less heat, airflow measured in CFM must match the selected equipment capacity. High external static pressure caused by undersized returns, sharp 90-degree turns at the plenum, or a restrictive 1-inch high MERV filter can limit blower airflow. The solution may be as simple as installing a deeper 4-inch media filter, enlarging return drops, or adding return pathways to rooms that are often closed. An ECM blower can be adjusted, but it cannot compensate for fundamentally restrictive ductwork. Measure static pressure with a manometer and compare it with the blower performance table before commissioning the system.
Consider a long, low ranch home with distant bedrooms that never quite become warm enough. Adding a return in the far wing and balancing the supply dampers can reduce room pressure differences and stabilize airflow, often more effectively than increasing system capacity. Leaky supply trunks in an unconditioned crawlspace waste heat and can allow dust into the system. Sealing those ducts with mastic and insulating exposed runs can help restore delivered heating capacity. The goal is straightforward: provide the airflow per ton that the heat pump requires while keeping total static pressure within a range the blower can manage.
-
Outdoor Placement, Defrost Drainage, and Cold Weather Details
Mount the outdoor unit high enough on risers or a stand to remain above typical snow accumulation and drifting. Position it away from downspouts, roof runoff, and areas where wind may push snow against the coil. During defrost cycles, melted frost drains from the outdoor unit, so the installation should provide a drainage path that will not create ice on a walkway. In colder microclimates, a drain pan heater may be recommended to help keep water moving. Insulate and protect the line set from ultraviolet exposure, maintain adequate service clearances, and avoid narrow alcoves that can cause cold discharge air to circulate back through the coil.
Controls are also important in cold, dry conditions. A crankcase heater protects compressor oil during extremely cold weather and helps the compressor start properly. Thermostat settings such as compressor lockouts, auxiliary heat lockouts, staging delays, and balance point targets determine when backup heat operates. If you install a whole-home humidifier to address winter dryness, keep humidity settings conservative during severe cold to reduce the risk of window condensation and icy sills. These details may not seem dramatic, but they often determine whether a system feels stable and comfortable when outdoor temperatures fall.
All Electric Versus Dual Fuel: Choosing Backup Heat for Cold Snaps
Air handlers with electric heat strips provide straightforward, all-electric backup heat. They are easy to stage and do not require a flue, but they can draw substantial electrical current, so panel capacity and wiring should be evaluated before installation. A dual fuel system combines a heat pump with a gas furnace and uses the furnace when outdoor temperatures fall below a selected changeover point. This configuration can provide warmer supply air during the coldest weather and may reduce peak electrical demand, although it also introduces requirements for venting, gas piping, and combustion safety. The home’s heating load, building envelope, utility setup, and service access often influence the decision more than broad claims that one option is universally preferable.
Altitude and climate do not rule out heat pumps, but they make careful system design essential. Ask for a Manual J and Manual S, a documented static pressure test, and a clear outdoor placement and drainage plan. Confirm thermostat lockout settings and backup heat staging before the installation begins. With properly selected equipment and adequate airflow, a heat pump can handle most of the heating season comfortably and then rely on auxiliary heat during the relatively few nights that require additional capacity. Careful planning at the beginning can support years of quiet, efficient, and consistent comfort.