

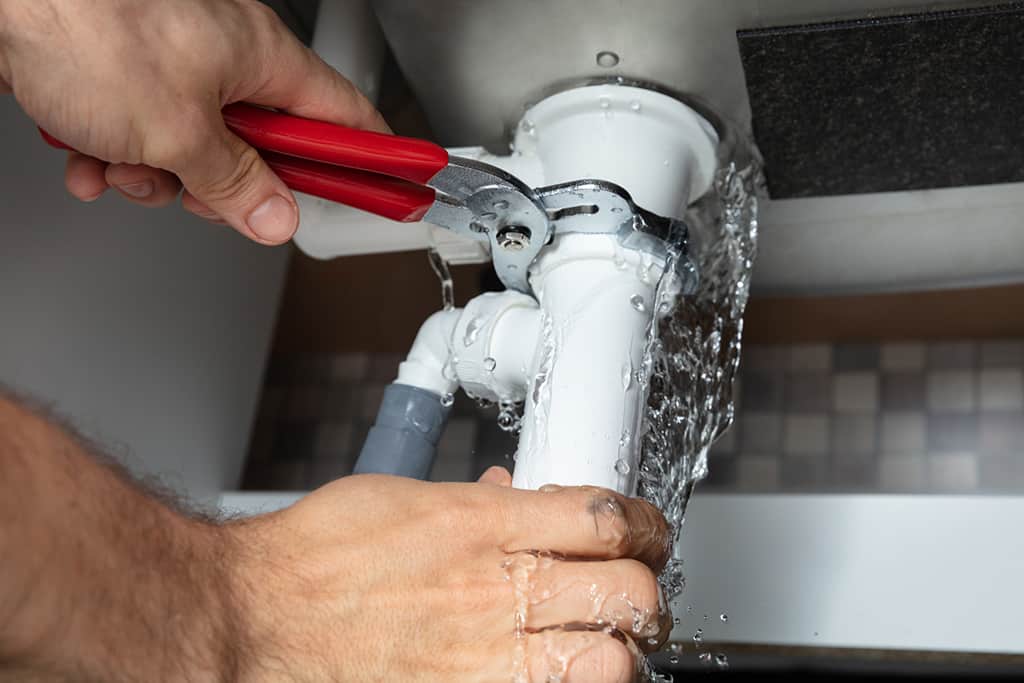
Water moves fast. In the minutes after a pipe bursts or a supply line fails, your choices can determine whether you are drying a small section of baseboard or replacing subfloors and ceilings. In those first moments, the goal is simple: stop the water flow, stabilize utilities, drain what you can, and document the damage. This guide explains what to do using clear, practical steps that apply whether the problem is a split copper line in a basement ceiling, a failed washing machine hose, or a cracked toilet supply line on the second floor of a home.
-
Shut Off Water Quickly: Main Valve, Meter, and Fixture Stops
Find the nearest usable shutoff valve. If a toilet or faucet is the source, turn its angle stop clockwise beneath the fixture. If the leak is on a branch line or the local shutoff valve is stuck, close the home’s main water valve near the meter. Modern main valves are often quarter-turn ball valves with lever handles, while older gate valves have round handles that may require several turns. Comparison sites that rank the best plumbers in Philadelphia will not help if you don’t know where your shutoff valve is during an emergency, so locate and label it in advance.
Choose the fastest reliable option. If a fixture shutoff closes completely and stops the leak, it can preserve water service to the rest of the home. If the valve keeps leaking or won’t close, don’t waste time. Go directly to the main shutoff. In some homes, the only dependable control may be the curb stop near the sidewalk. If the leak is severe and you cannot locate or operate the main valve, contact your water utility’s emergency service. The utility can send someone with the proper equipment to shut off water at the street.
-
Stabilize Utilities to Prevent Secondary Damage
Once you stop the water flow, protect nearby equipment from additional damage. If you have an electric water heater, turn off its breaker before draining significant amounts of hot water. Heating elements can be damaged if they operate when the tank is not properly filled. For a gas water heater, follow the manufacturer’s shutdown instructions rather than adjusting controls unless you know the correct procedure. If you have a boiler serving radiators or radiant heat, close the automatic fill valve only if you know its location and function, since a damaged heating line may otherwise continue receiving water.
Be especially careful around electricity. If water has reached outlets, extension cords, power strips, appliances, or electrical equipment, do not step into standing water to unplug anything. If you can safely reach the electrical panel from a dry location, shut off power to the affected circuit. Use GFCI-protected outlets for any wet/dry vacuum or dehumidifier used during cleanup. Avoid using portable space heaters to dry soaked walls or flooring rapidly. Excessive heat can damage hardwood, crack finishes, and move moisture deeper into building materials instead of removing it effectively.
-
Drain and Contain: Lower Faucets, Dehumidify, and Document
Drain remaining water from the plumbing lines to reduce continued dripping. Open a cold-water faucet at the lowest level of the home, such as a basement utility sink, then open a faucet on the highest floor to let air into the system. Flush toilets if appropriate to reduce stored water in tanks. Place buckets beneath slow leaks and use a wet/dry vacuum where it can be operated safely. Run a dehumidifier in the affected area and lift wet rugs so air can reach both surfaces. Carefully removing baseboards, when necessary, can also create space for air to reach damp drywall and framing.
Photograph the affected areas before moving damaged items whenever possible. Take wide photos that show the entire room and close-up images of the failed component, such as a split PEX line, corroded copper fitting, or cracked toilet valve. Document where the water traveled, including stains on ceilings or walls beneath an upstairs bathroom. For example, a washing machine hose may rupture near its connection. Photos of the damaged hose, the shutoff valve position, and the path the water followed across the floor can help a plumber understand the failure and may also support an insurance claim.
-
Temporary Measures You Can Use Safely
Use simple temporary measures only when you can apply them safely. A properly sized stainless repair clamp may help control a small pinhole leak in certain exposed pipes until permanent repairs are completed. Push-to-connect caps can sometimes isolate a damaged section of suitable copper or PEX after you shut off the water supply and properly cut and prepare the pipe. Use these measures only when you understand the plumbing material and fitting requirements.
Avoid risky improvisations. Do not heat wet copper tubing with a torch to make a quick solder repair, because trapped water can create steam and prevent a reliable joint. Do not treat wrapping tape around a pressurized pipe as a dependable repair. If a toilet supply valve continues leaking, keeping the main water supply off may be safer than attempting an unfamiliar repair during an emergency.
Decide whether restoring partial water service is worth the risk. Keeping only one fixture shutoff closed can make life easier while you wait for repairs, but older valves and fittings may start leaking after you disturb them. If you are unsure whether a local shutoff will stay secure, leave the main valve closed until the damaged line is repaired. After a washing machine hose failure, consider replacing both hoses if they are the same age and ask whether water hammer arrestors would help reduce repeated pressure shocks at the appliance valves.
What to Tell the Plumber When You Call
Clear information can shorten diagnostic time and help the plumber arrive with appropriate materials. Describe the pipe material where the failure occurred, such as copper, PEX, or CPVC. Explain what type of valves you have, including whether the main uses a gate valve or ball valve, and tell the plumber which valves you already closed. Mention whether you have a pressure-reducing valve or expansion tank near the water meter or water heater. Describe how the damaged pipe can be accessed, such as through drywall, ceiling panels, tile, or an unfinished basement. Explain what became wet and approximately how long water was flowing.
If you have previously measured household water pressure with a simple gauge attached to a hose connection, share that reading. Excessively high static water pressure can accelerate wear on supply lines, valves, fixtures, and appliance connections, and may indicate that the pressure-reducing valve needs adjustment or replacement.
After the immediate repair, consider small upgrades that can make the next emergency easier to manage. Replacing an unreliable gate valve with a full port ball valve can make future shutoffs faster and easier. Label the main valve and important branch valves with durable tags. Replace aging rubber washing machine hoses with braided stainless steel lines where appropriate. Have the expansion tank inspected and properly charged if your plumbing system uses one. A simple five-minute household practice session to locate the main shutoff and lowest faucet can make a major difference when a real leak occurs, potentially turning a manageable cleanup into a lengthy reconstruction project.